Contact |
About |
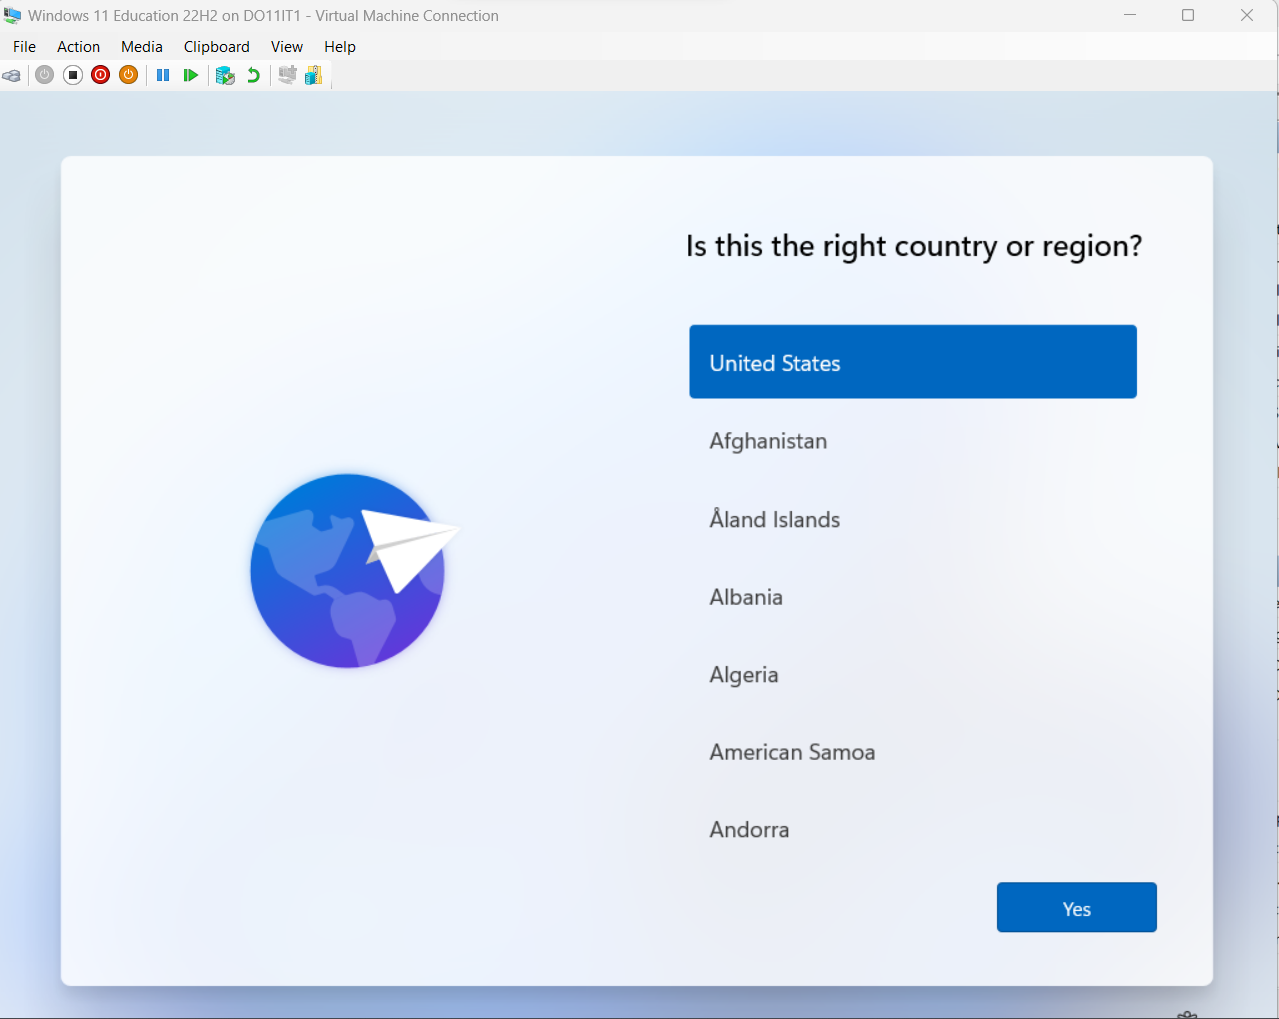
How I Deploy Windows 11 for Student Use
Boot into Audit Mode ctrl+shift-F3
Eject the DVD Drive

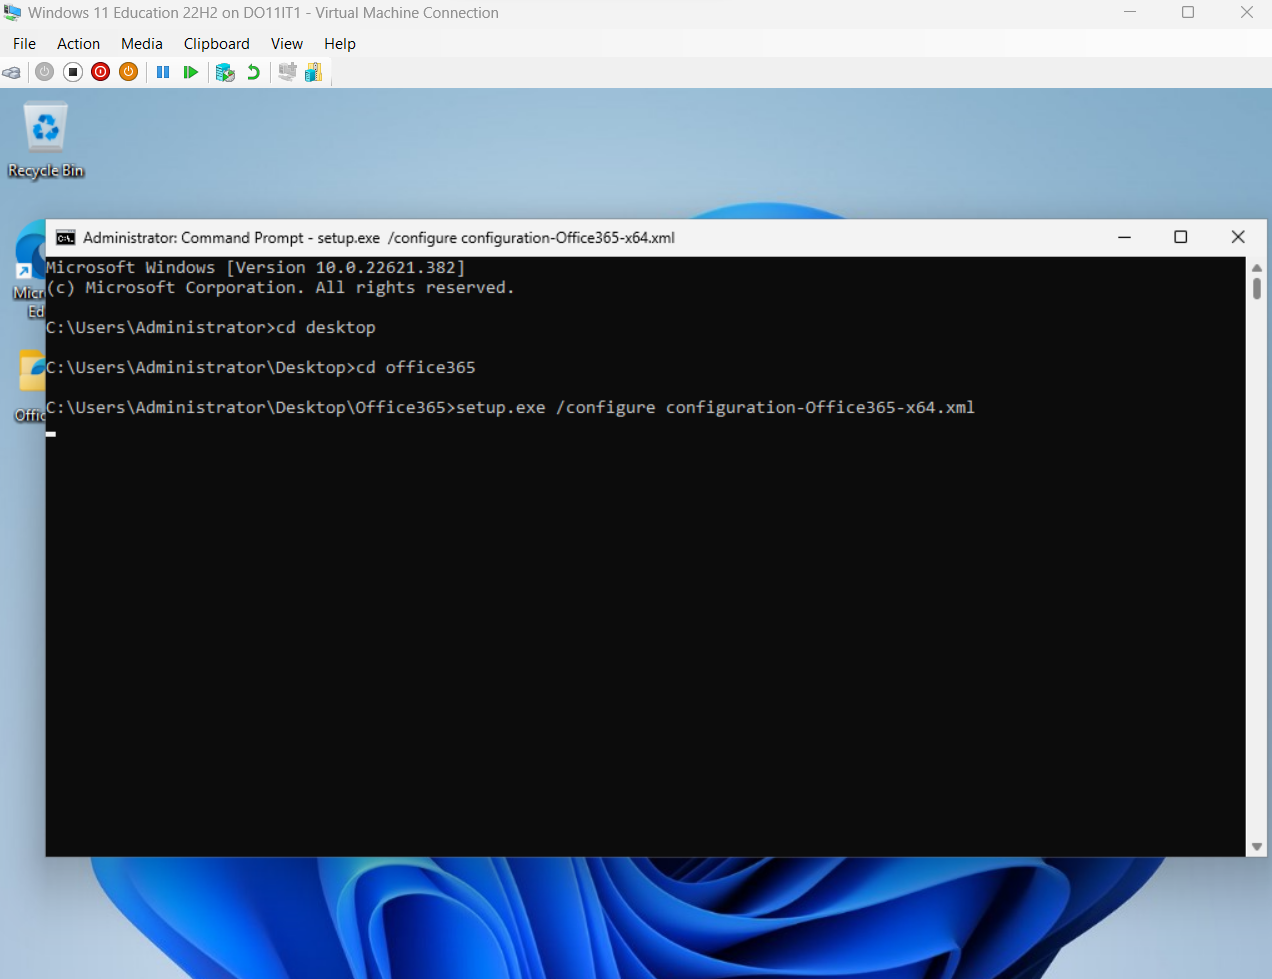
Install Office 365 ProPlus
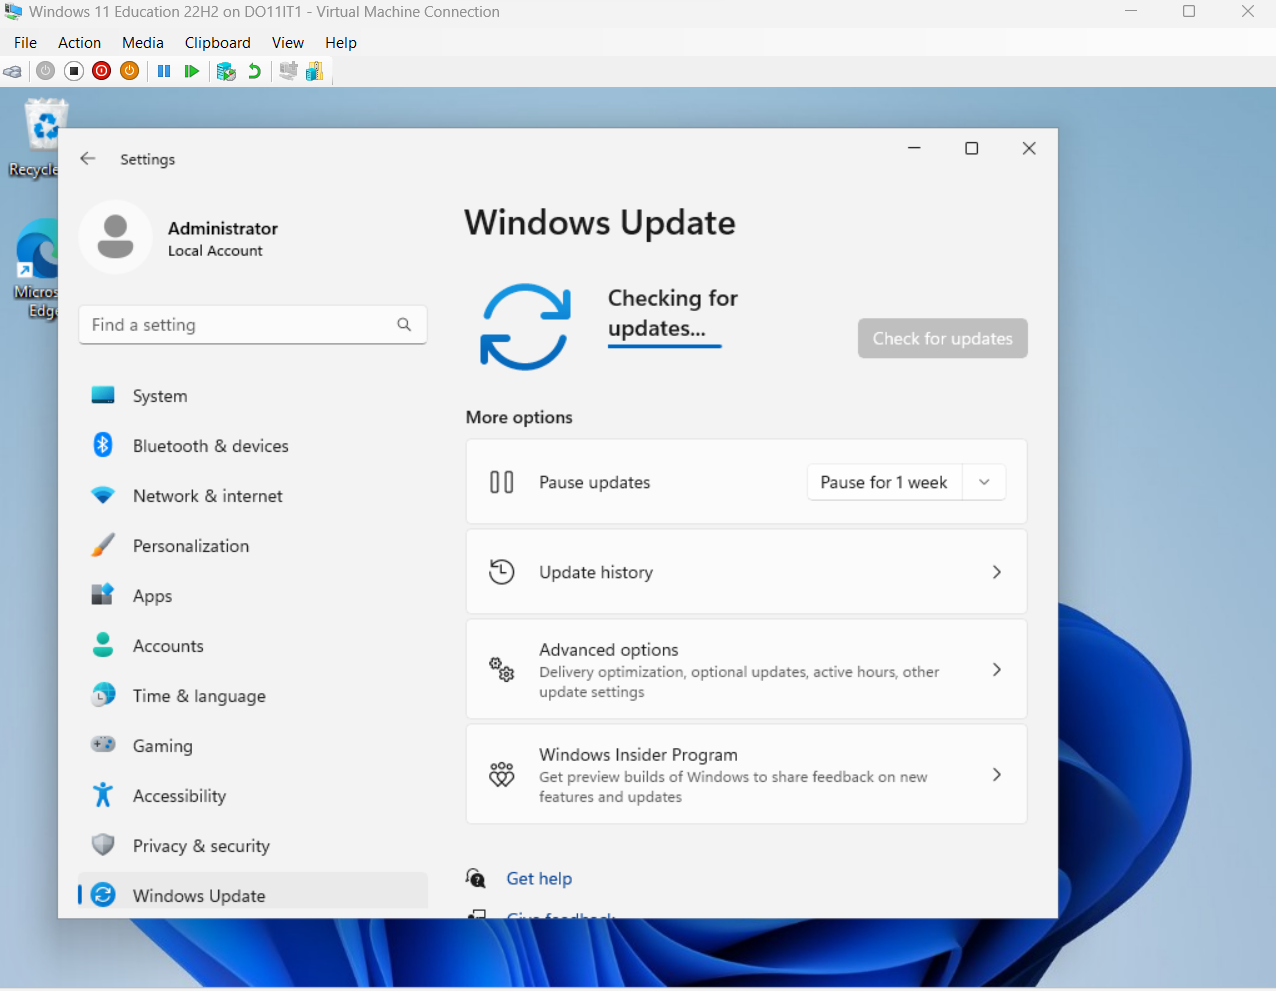
Check for Windows Updates
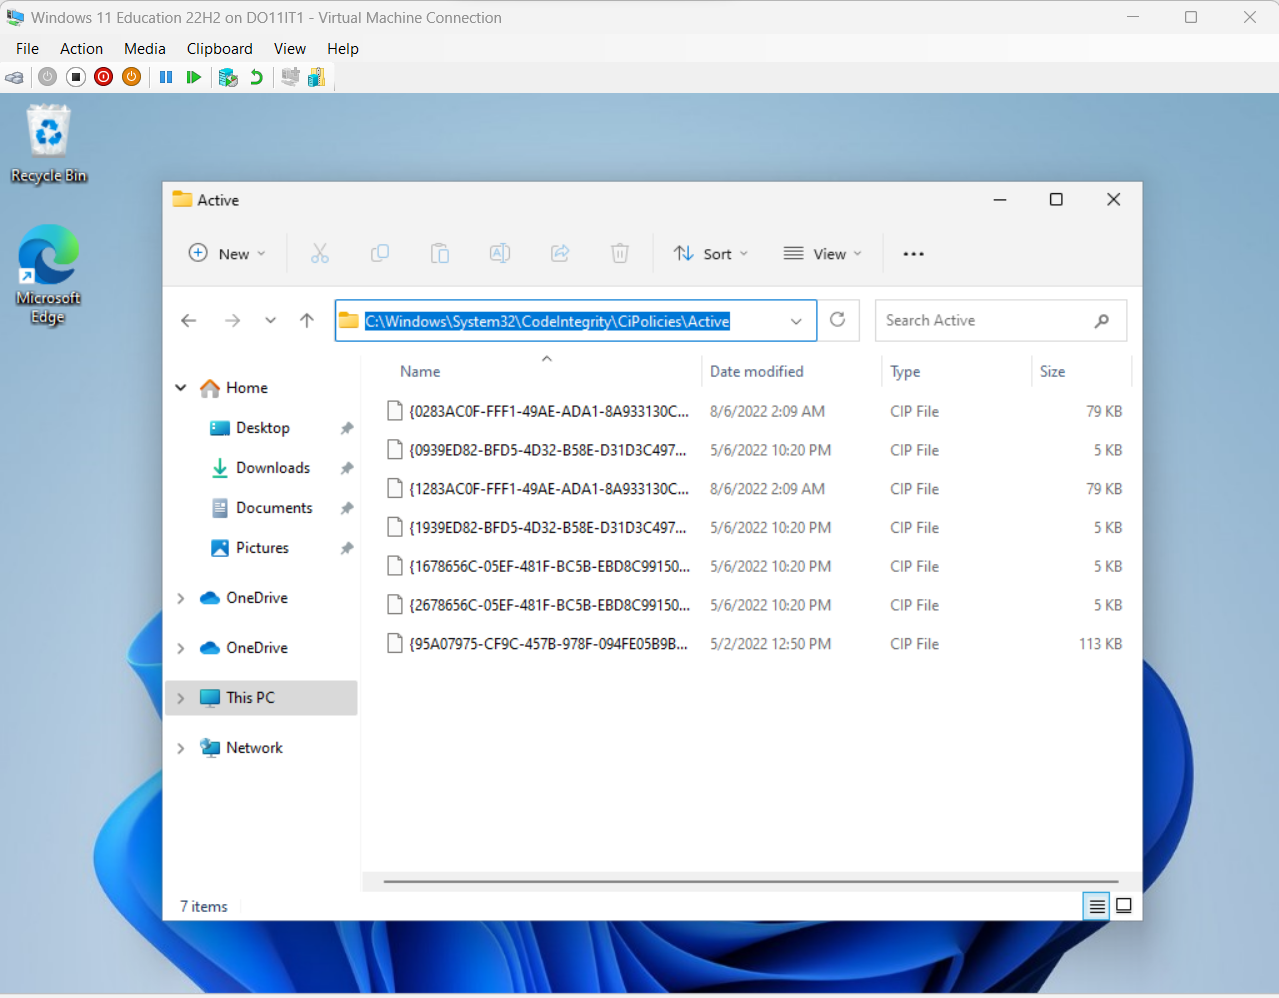
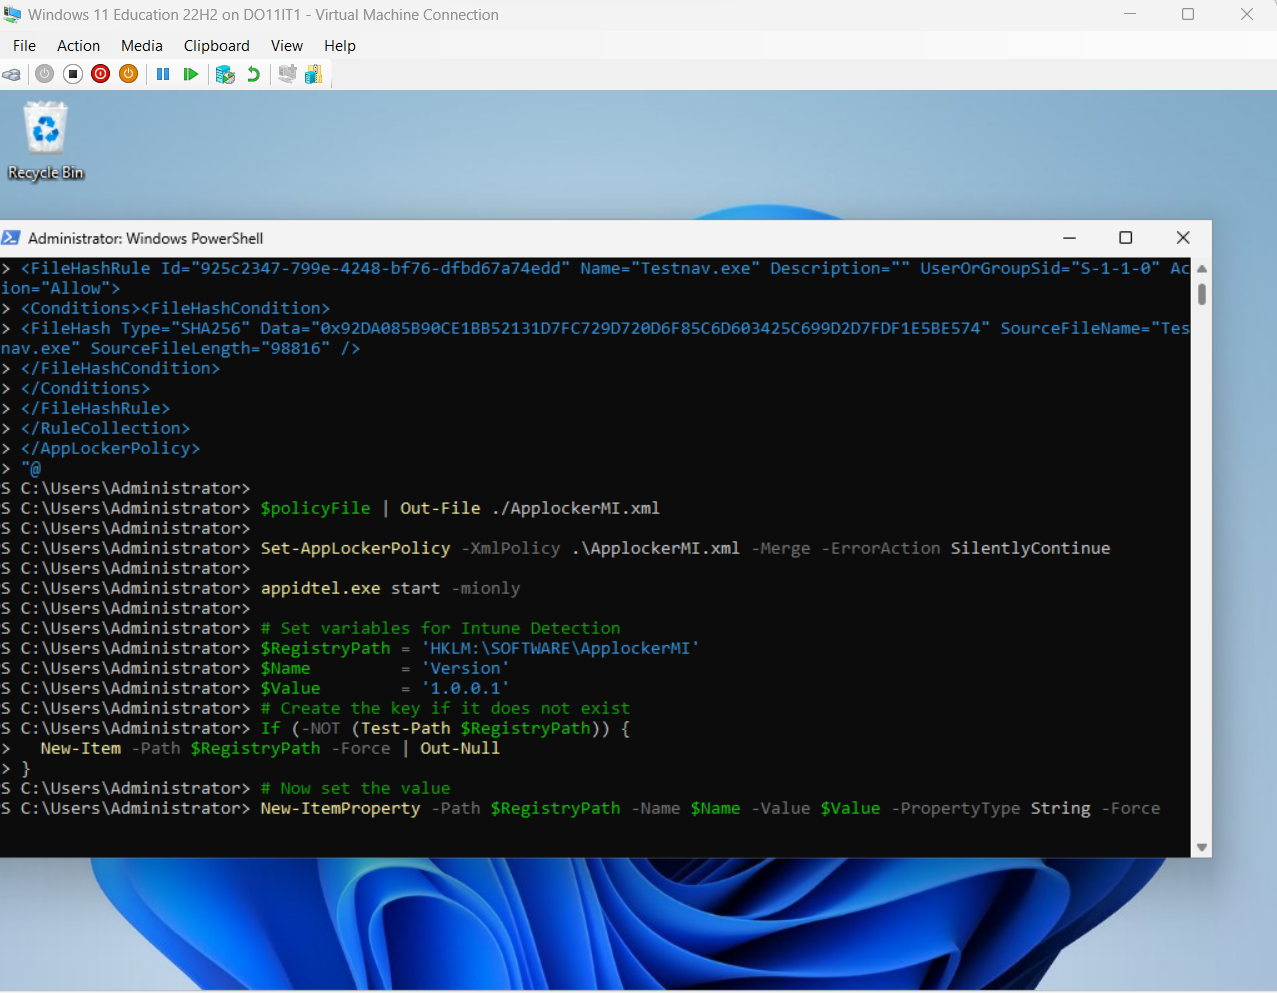
Add WDAC Base Policy C:\Windows\System32\CodeIntegrity\CIPolicy\Active
Set AppLocker Managed Installer policy to allow Intune to install Programs
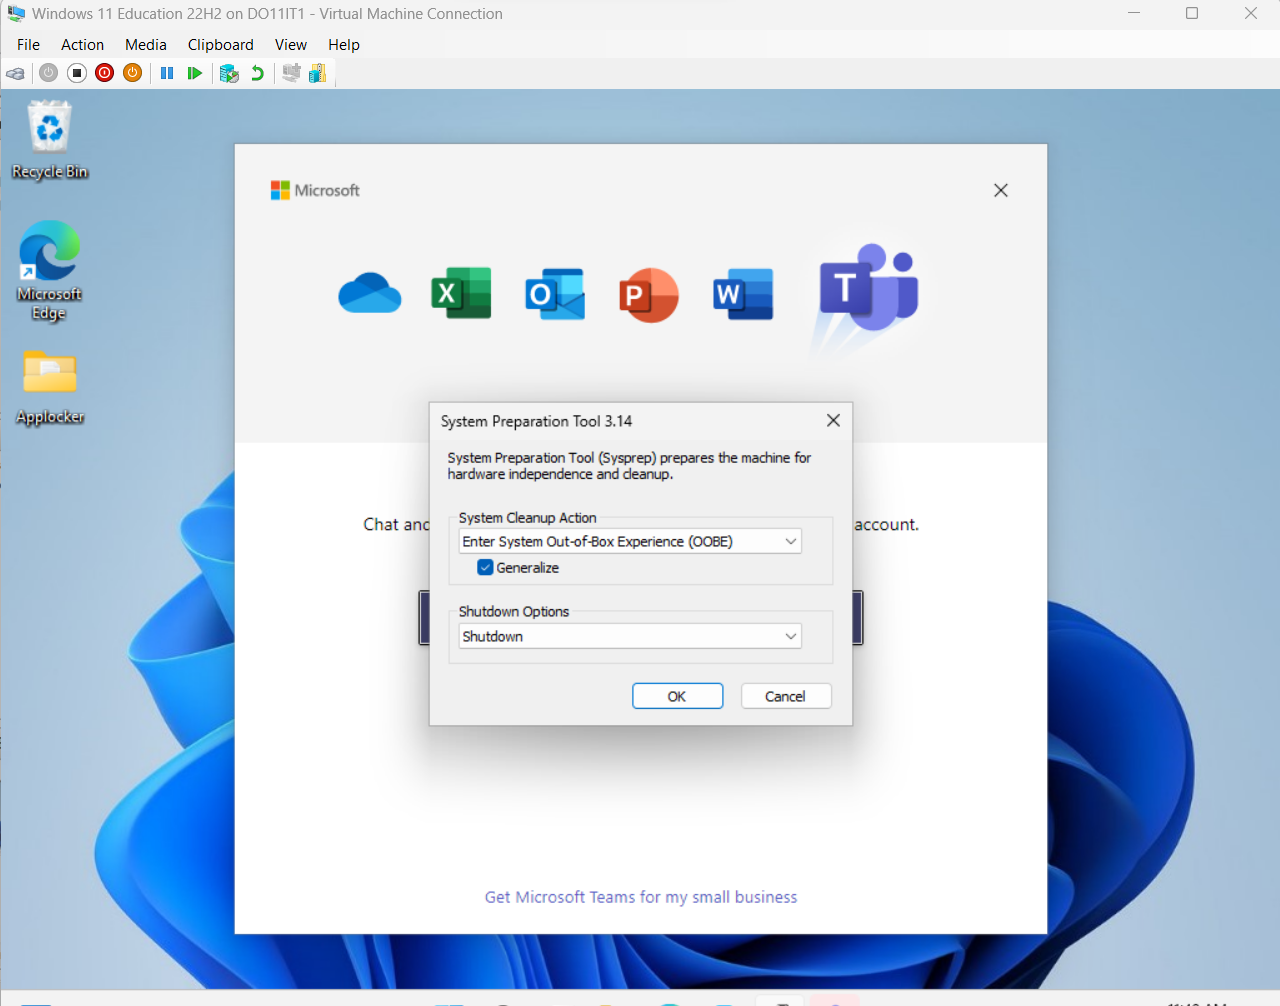
Sysprep and shutdown the VM
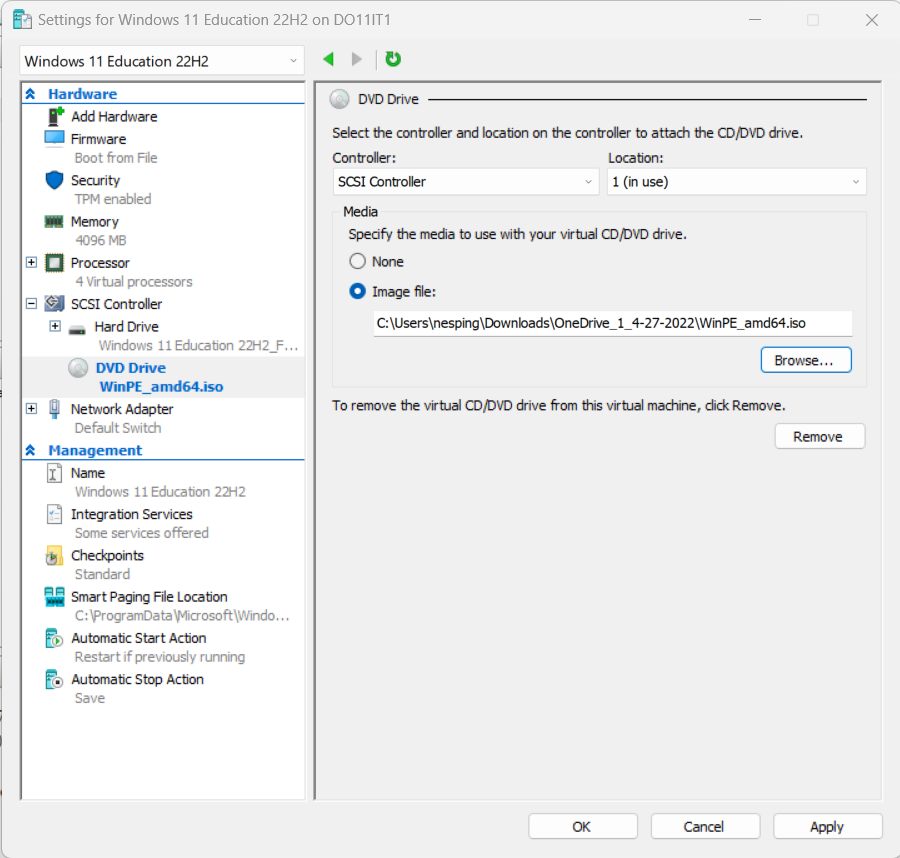
Add WinPE iso
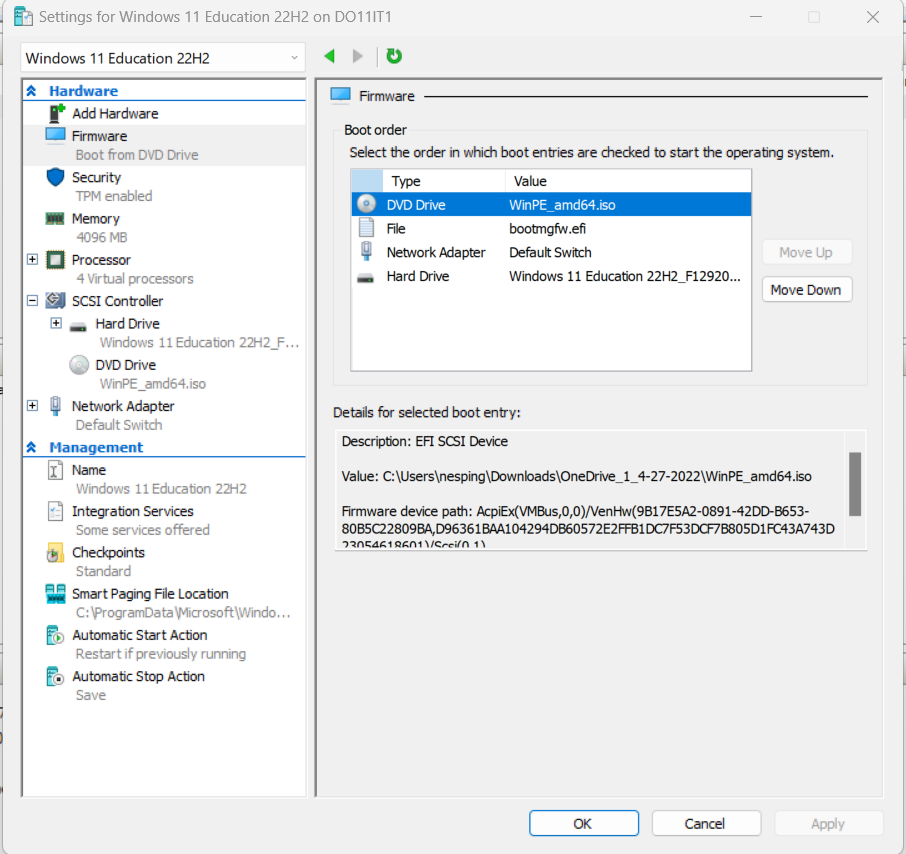
Change Boot Order so DVD Drive is first
Create Partition Using the remaining space
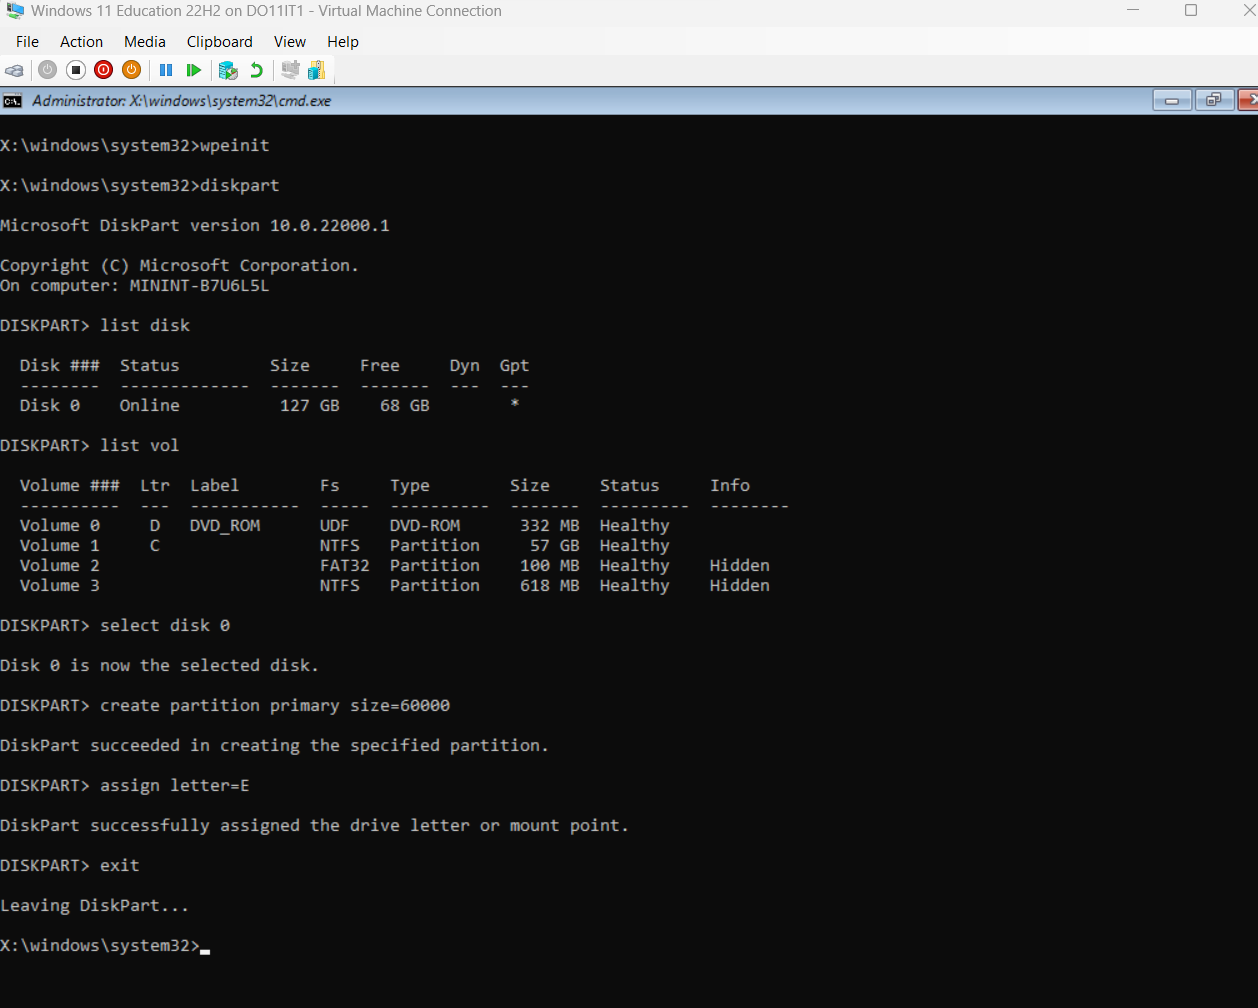
Don't forget to format and set drive letter
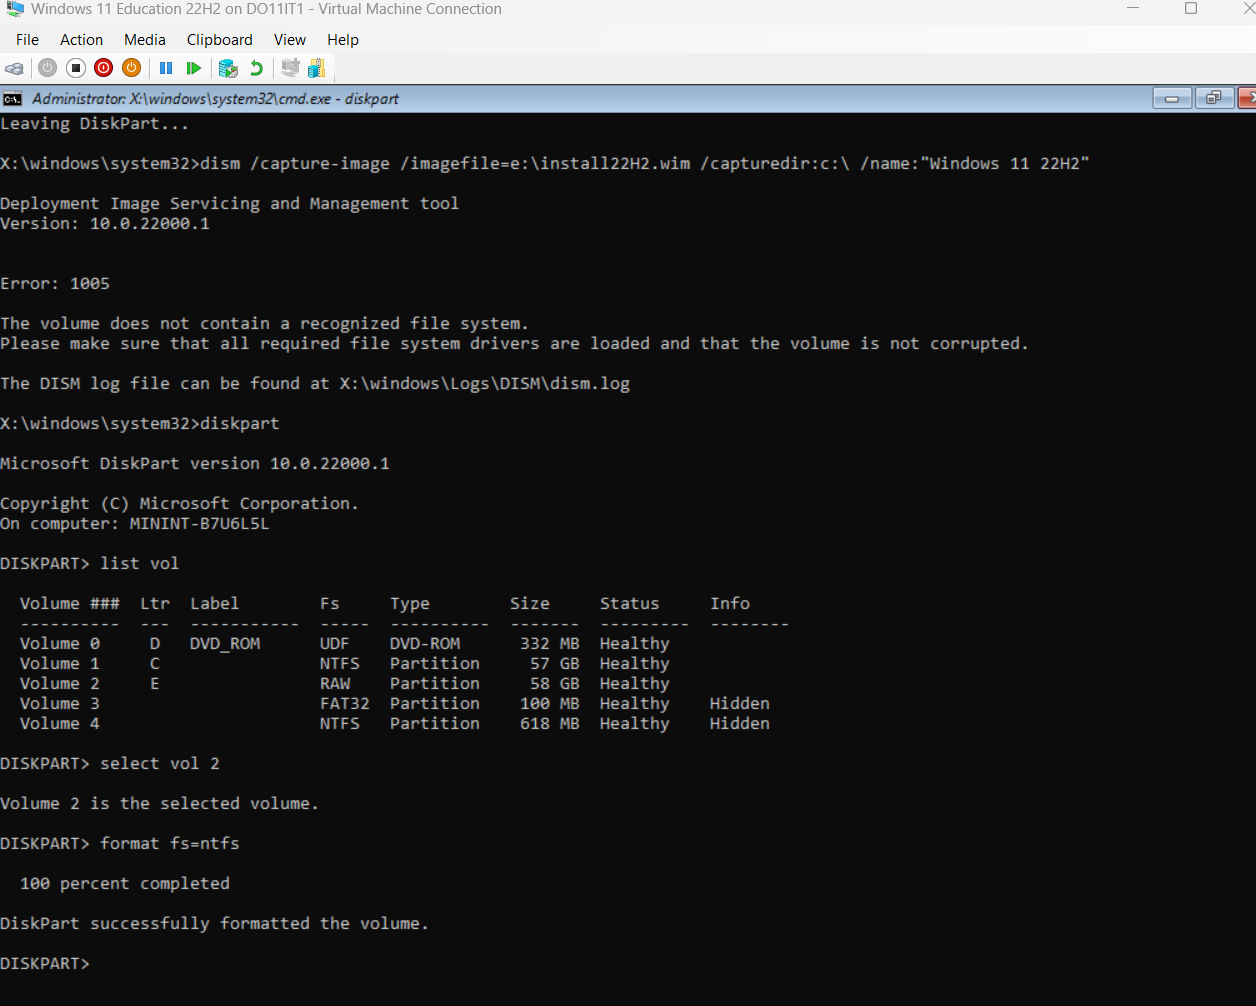
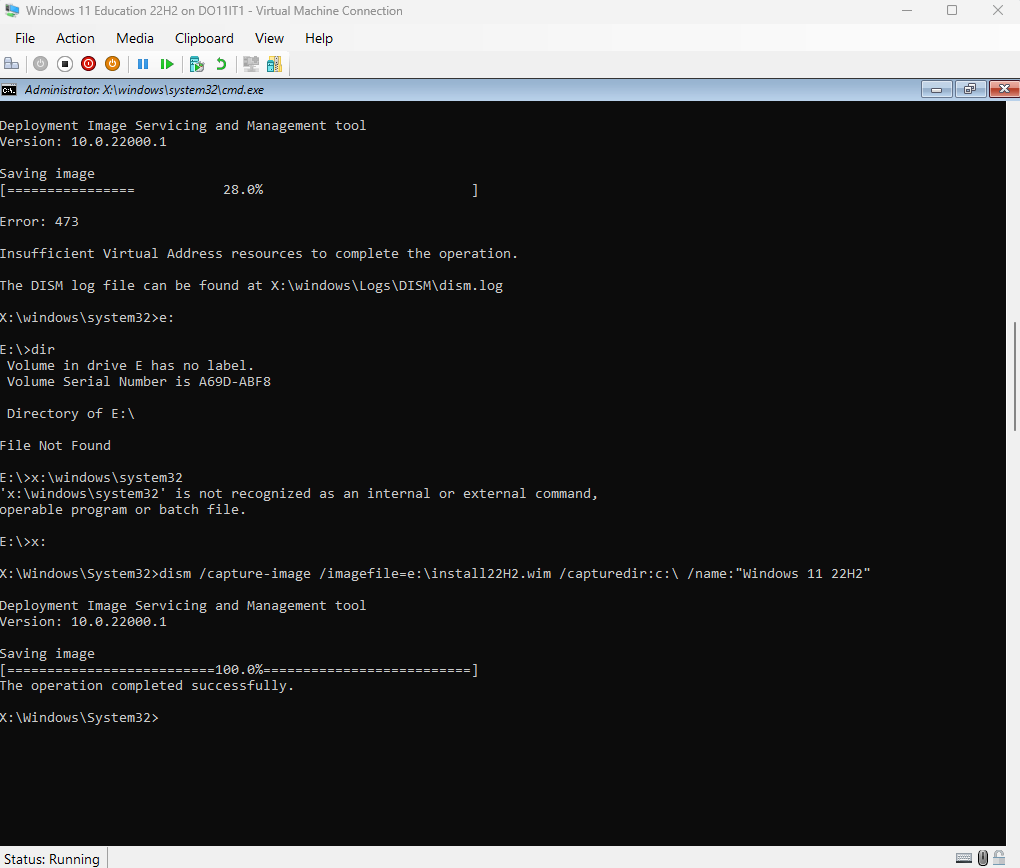
Capture Image - If you run out of Virtual Address resources close out some programs on your computer and try again
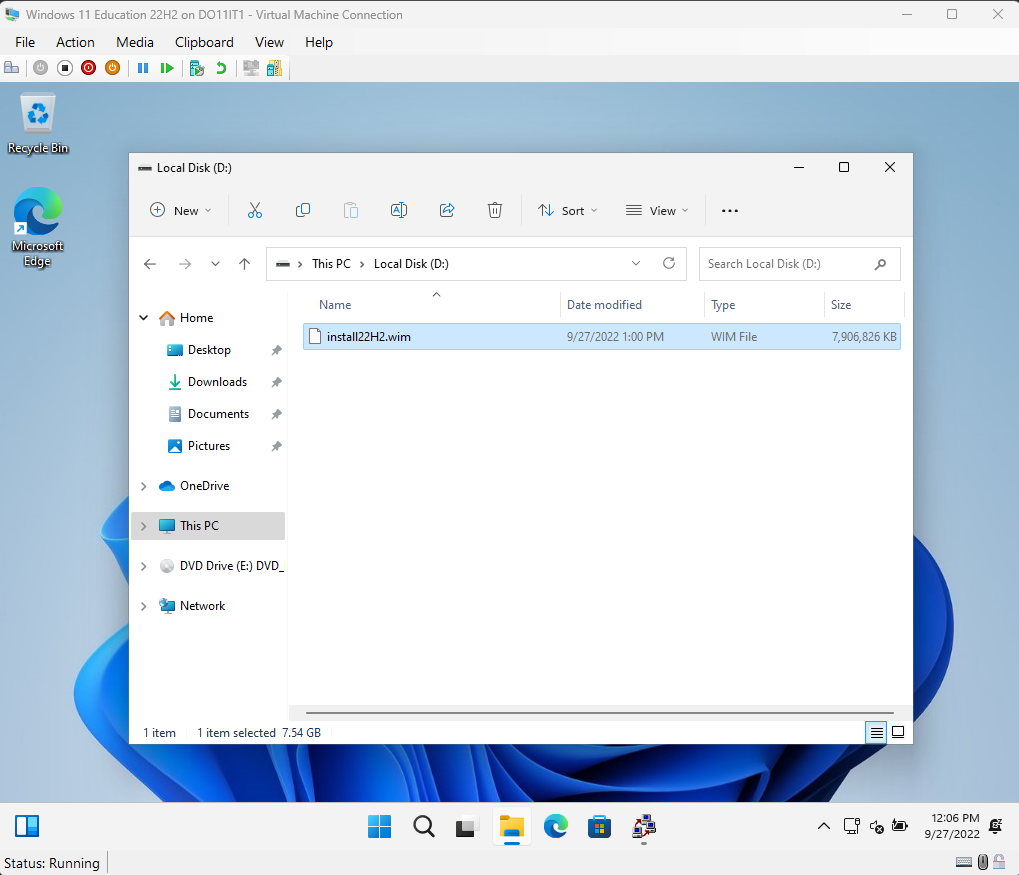
dism.exe /capture-image /imagefile=e:\install22H2.wim /capturedir:c:\ /name:"Windows 11 22H2"
Boot back into the VM to copy the wim
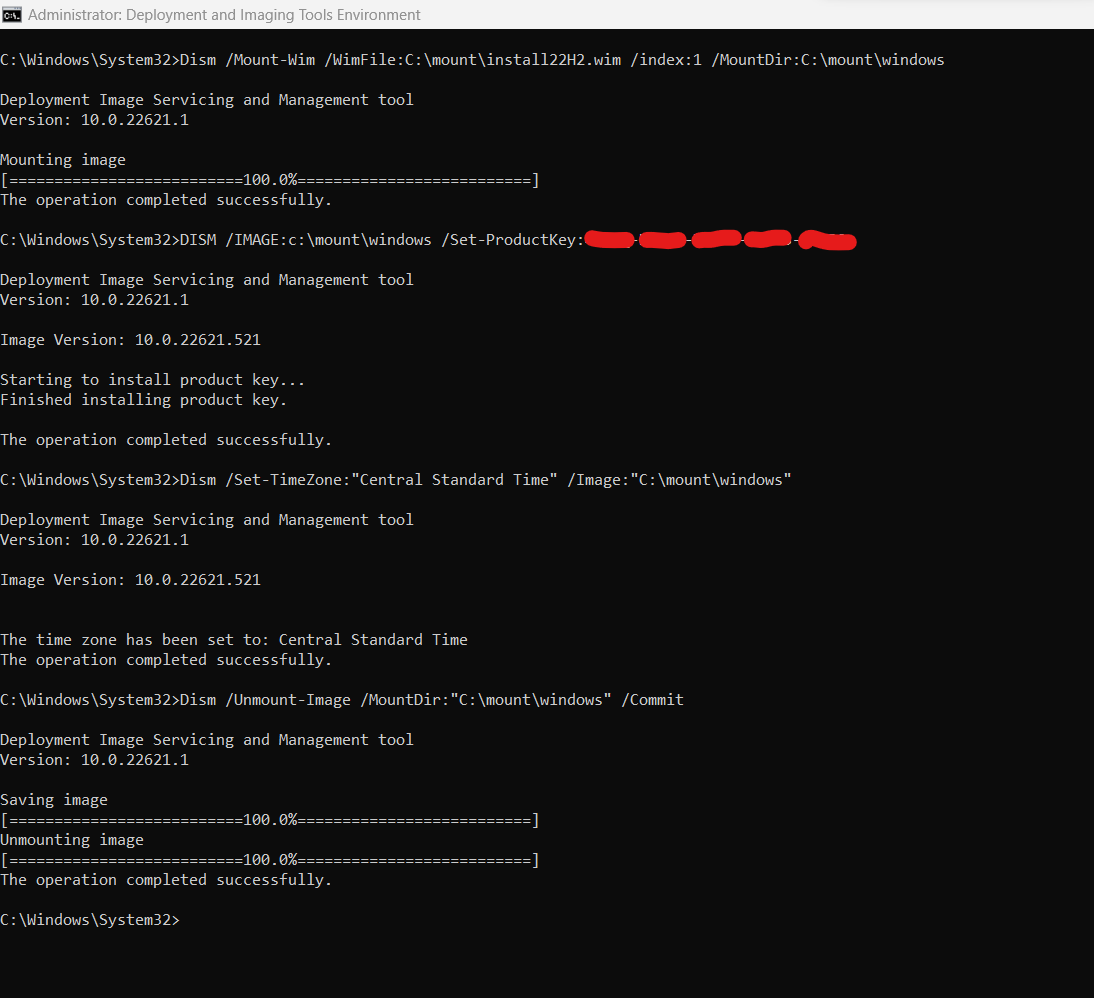
Mount the wim and add Product Key and set time zone
Export recovery image
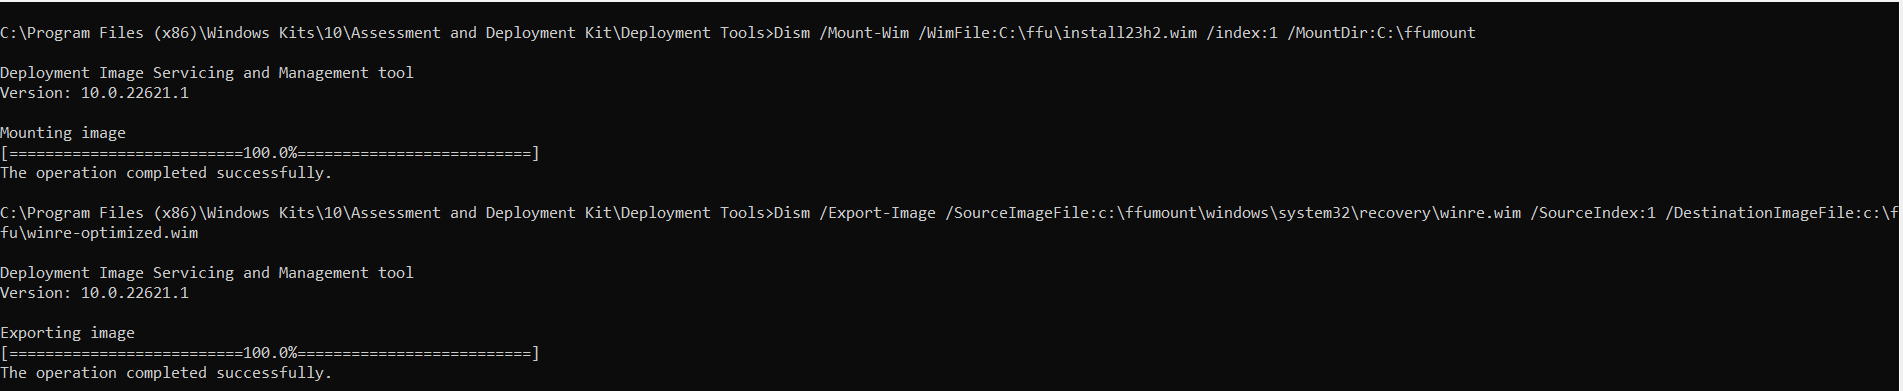
Unmount and Commit Changes
Next Step: Deploy Wim to reference computer, install drivers and capture FFU image for faster deployments
Page 1 ↗
